Quick Start Guide
Welcome to our Quick Start Tutorial. Here, we will:
- Create a workflow to generate personalized welcome email.
- Use LLMs and SQL within Fleak.
If you would like an interactive version of Quick Start, please click here.
Create a New Workflow
Log in to Fleak. Locate the 'Create a workflow' block from the home page and click the New Workflow button.

A pop-up will appear. Enter a name and description then click Create.
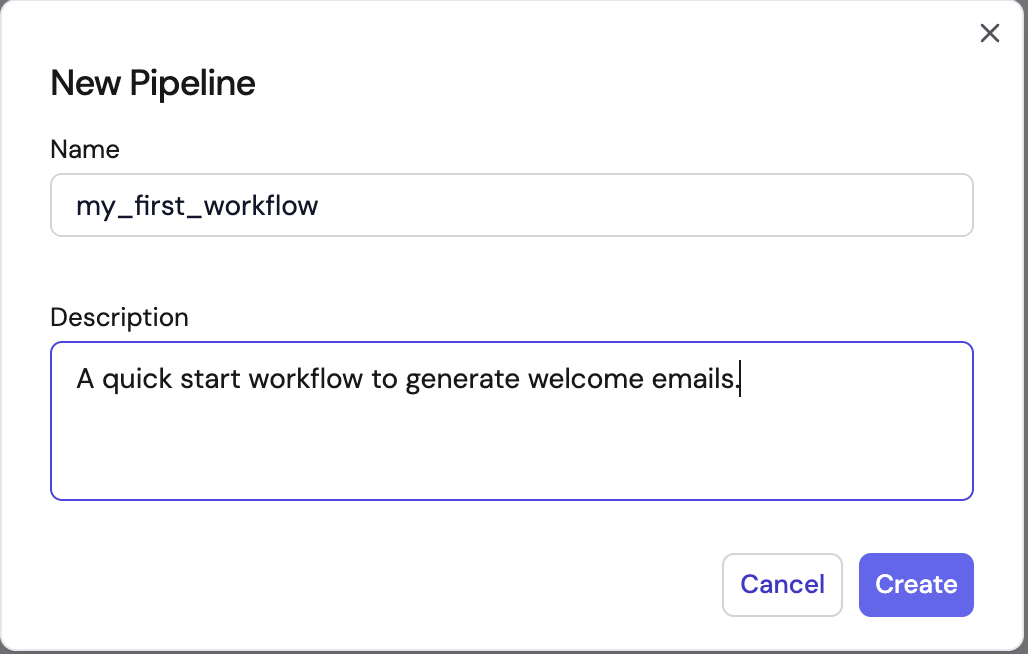
Now that you've created a new workflow, you should be able to see the workflow editor window.
Setup the Sample Input Data
Copy and paste the data sample below into the HTTP Input node. This will be used as the input data to debug your workflow.
{
  "name": "Rick Sanchez",
  "occupation": "scientist"
}
Add a 'SQL' Node to Create User Profiles
Click the + below the HTTP Input node and select the SQL node.
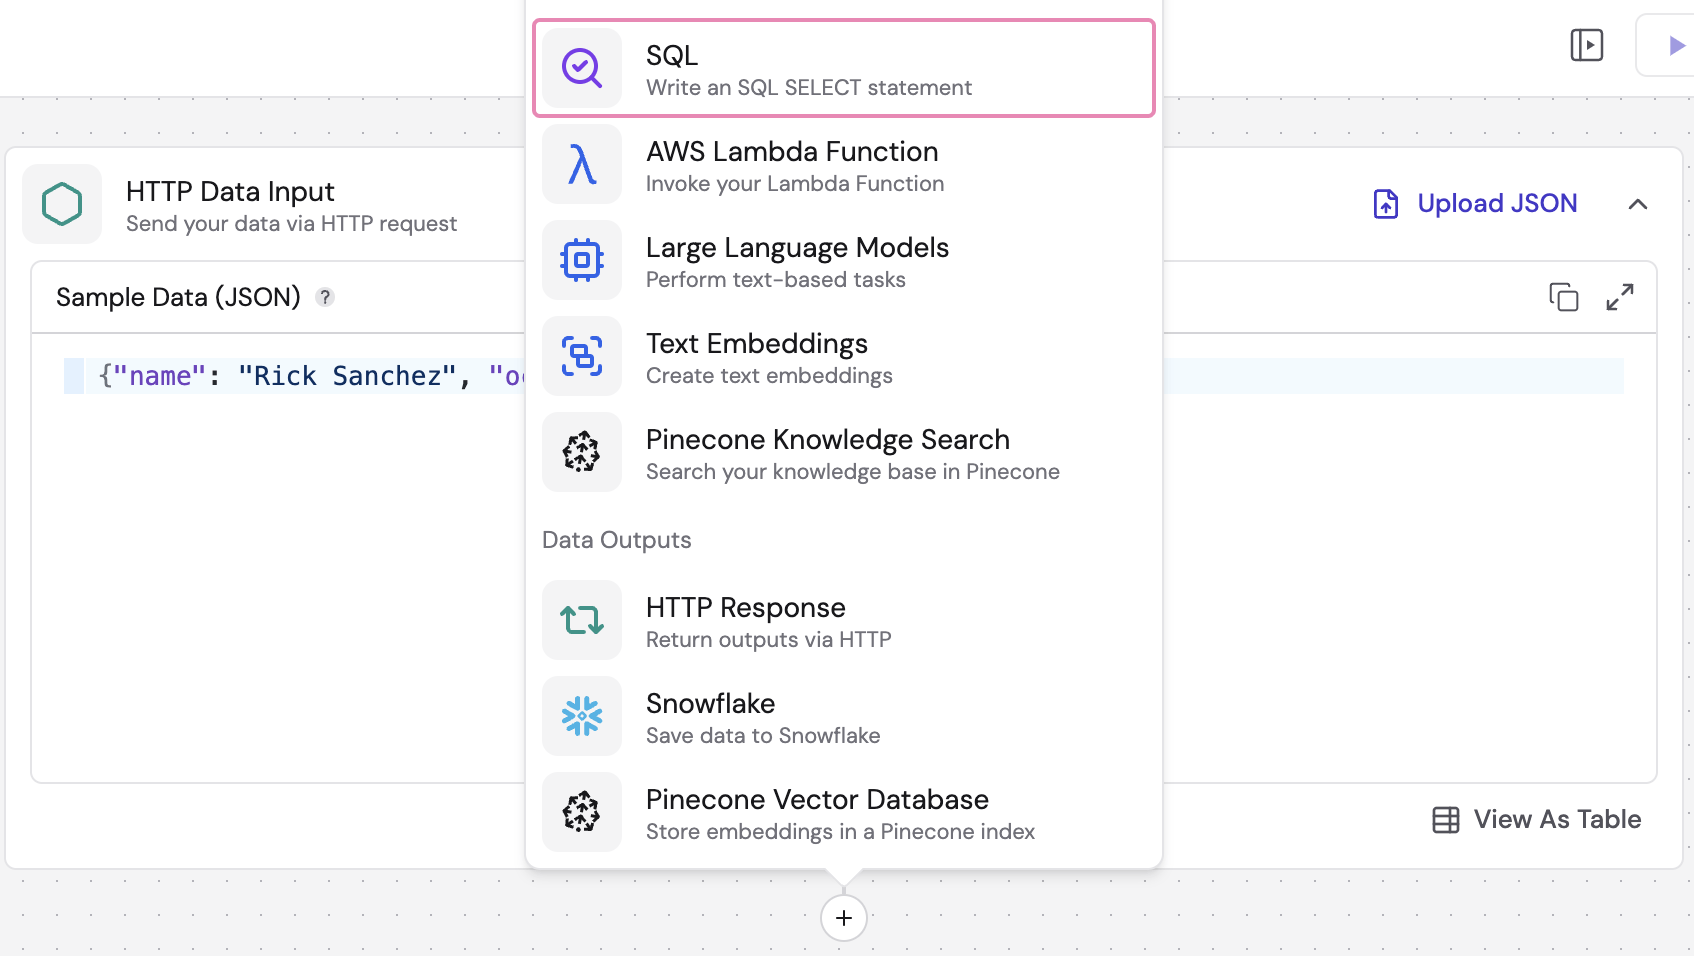
Then, copy and paste the command below into the SQL node, click Run Step button to view the SQL node output.
events is a reserved term in Fleak, which always represents the entire output of events from the previous node,
see Product Basics for details
SELECT
    concat(name, ', ', occupation) AS profile
FROM
    events;
 Note that the Output Event panel is to your right. The
 name and occupation have been concatenated into the
profile.
Generate a Customized Email with LLM
Click on the + sign below the SQL node, navigate to the AI Tools category and select the LLM node.
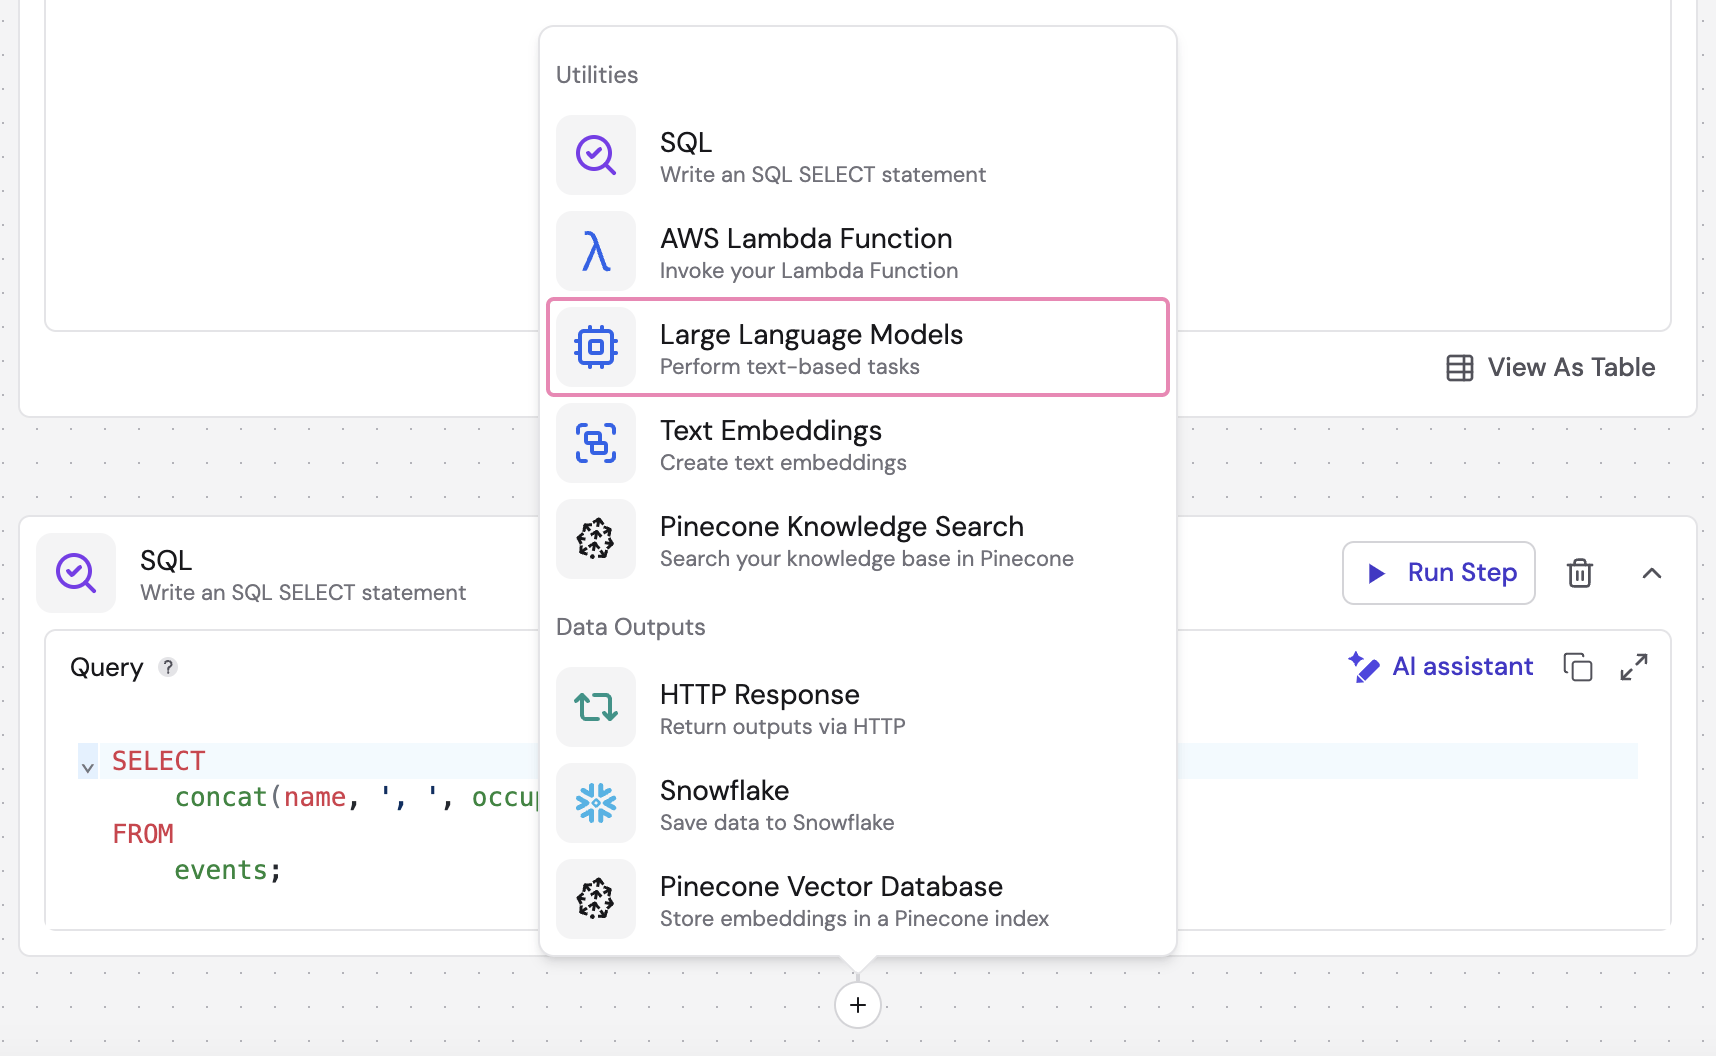
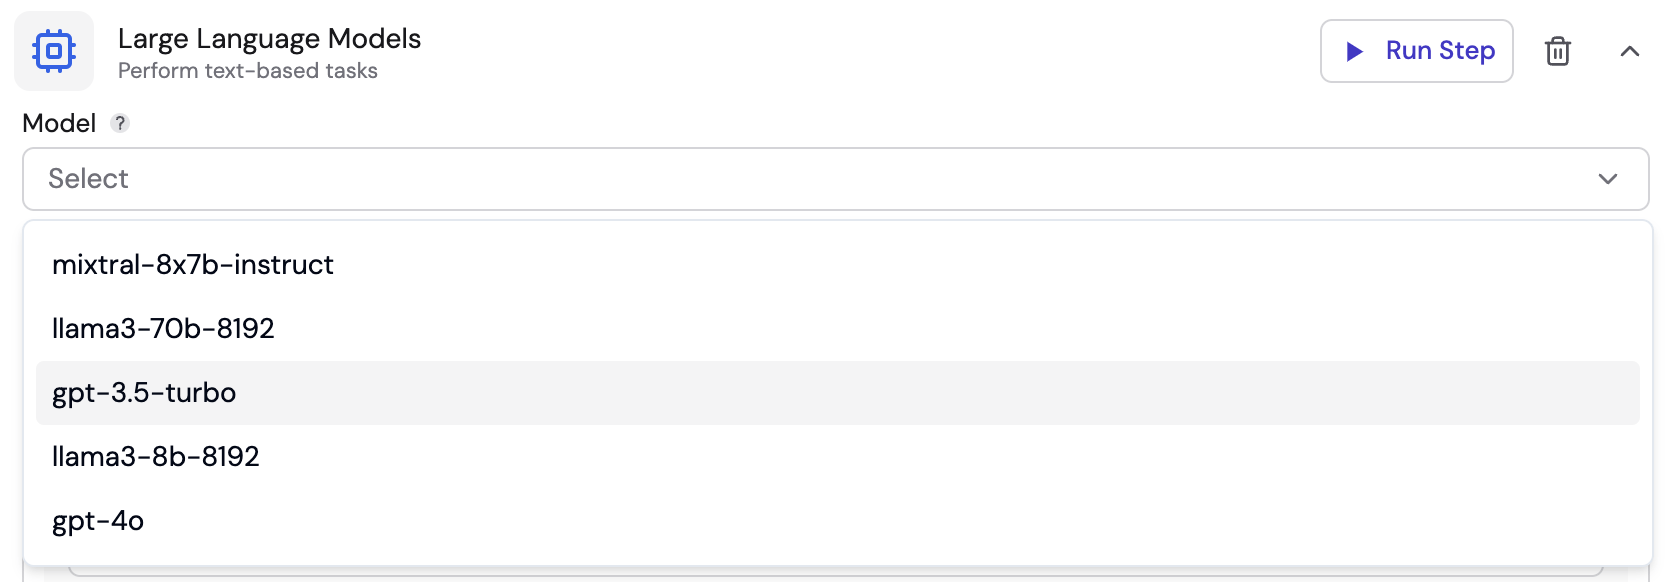
In the "Model" field, choose gpt-3.5-turbo.
In the Messages section:
- Add a new message.
- Configure the Role as System.
- In the Prompt Type field, choose Text Prompt.
- Copy and paste the prompt below into the Prompt field.
generate a short and funny welcome email to the provided new user profile on behalf of Fleak, an amazing AI workflow builder
- Add a new message.
- Configure the Role as User.
- For the Prompt Type, Key from Event should be chosen.
- Then, input
$.profileinto the Prompt Path field.
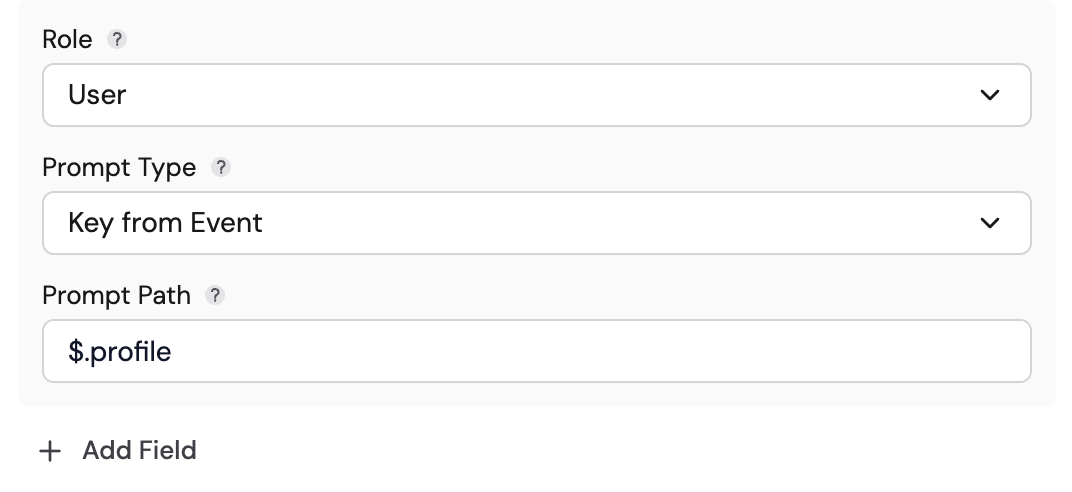
Click Run Step button in the upper right of this node.
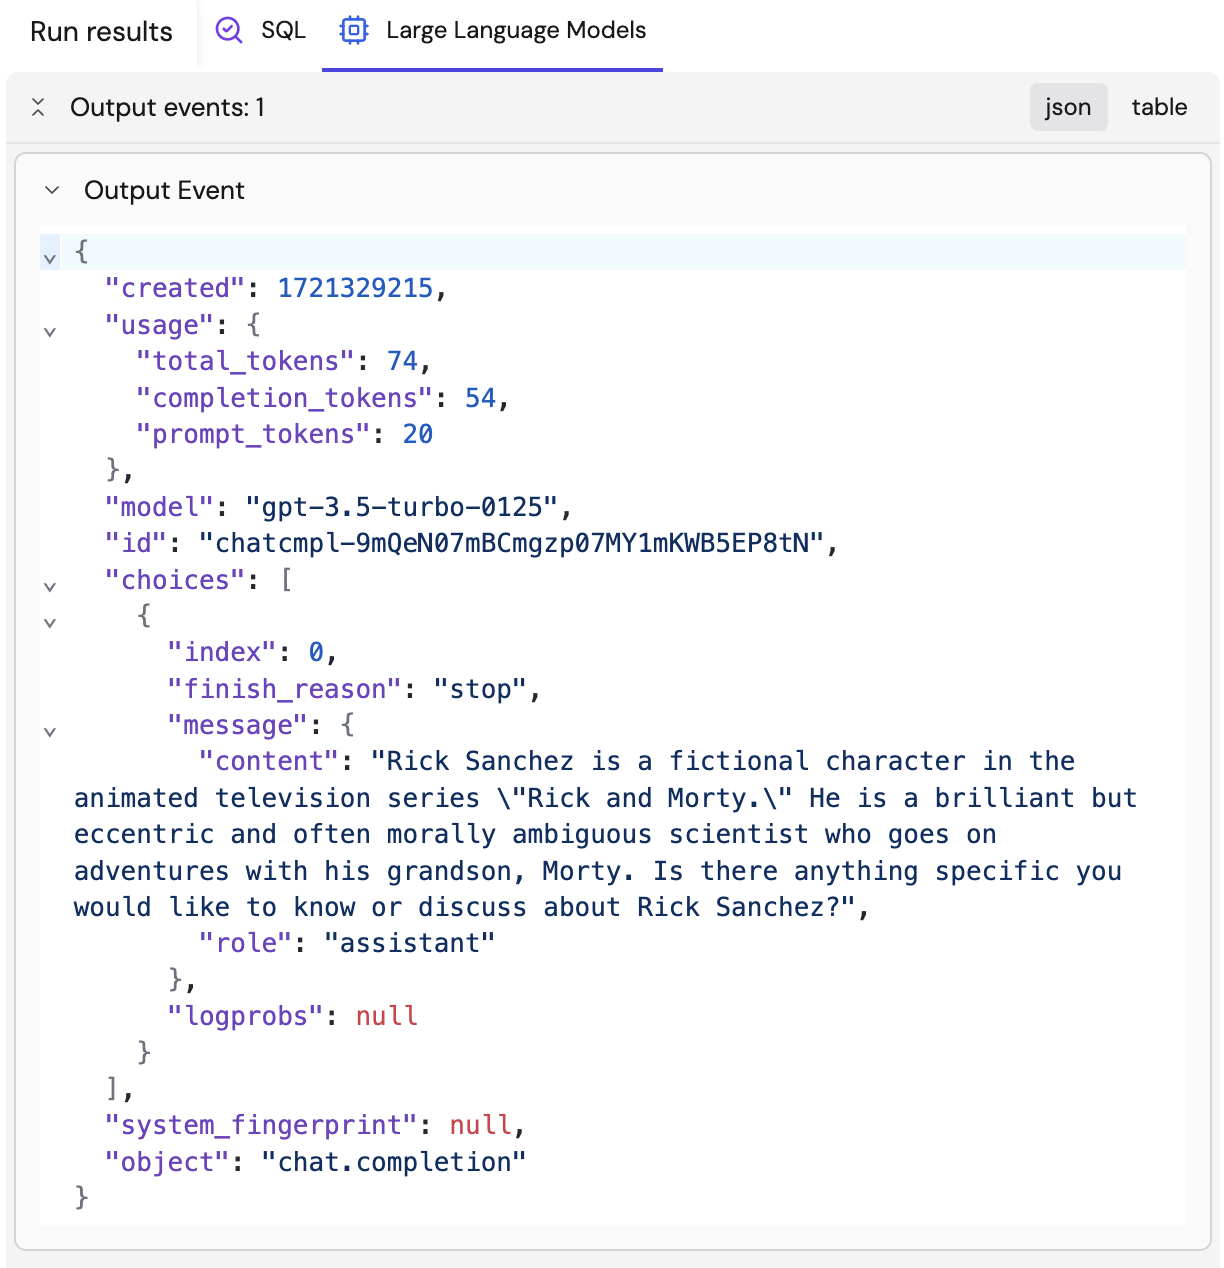
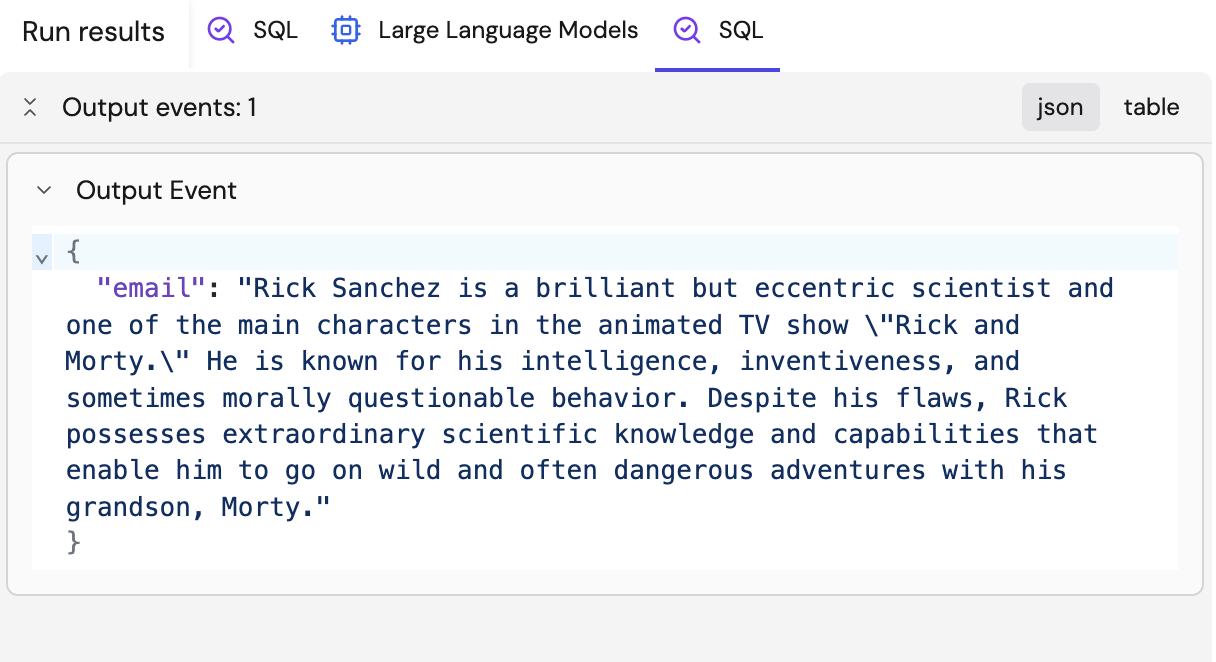
Extract Results with SQL Node
Add a SQL node, copy and paste the SQL query below.
SELECT
    choices -> 0 -> 'message' -> 'content' AS email
FROM
    events;
Click Run Step button.
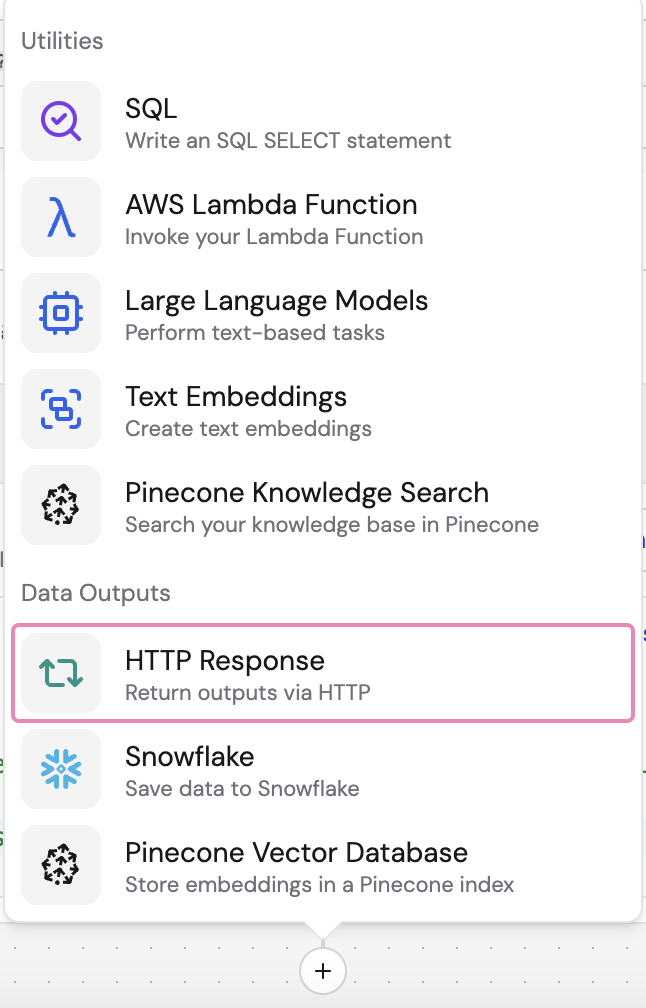
Set Output Destination to Return Results via HTTP Response
Choose HTTP Response under Data Outputs an output destination. This configures the workflow to return
synchronous HTTP response to the clients.
Publish the Workflow as an HTTP API Endpoint
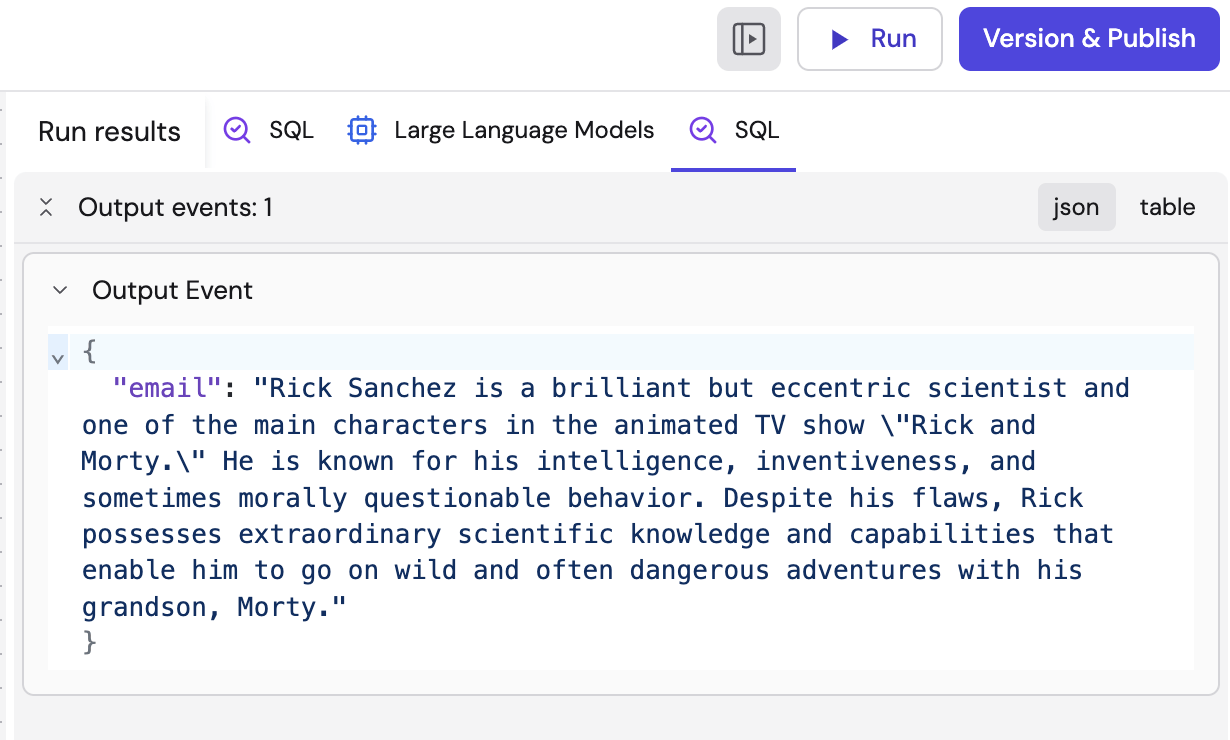
Click on the Version & Publish button in the upper right corner. Then click Publish under Build Version to access the pop-up window.
- Paste the description below into the Description field.
First version of customized welcome email workflow
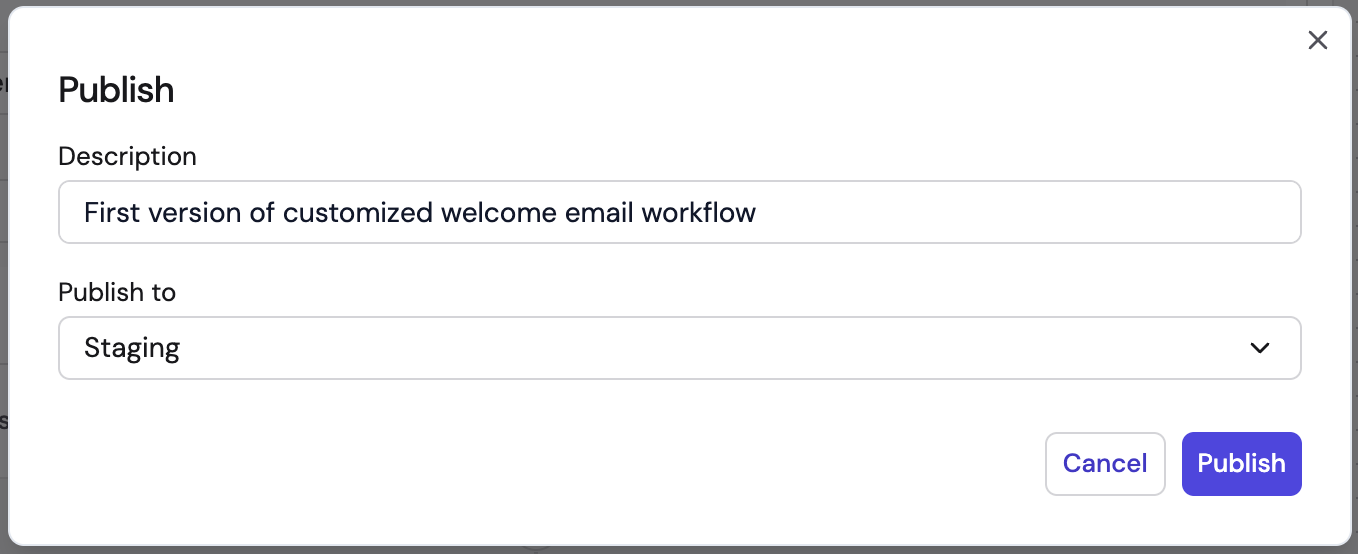 Click Publish.
The HTTP API endpoint details and documentation will be displayed automatically.
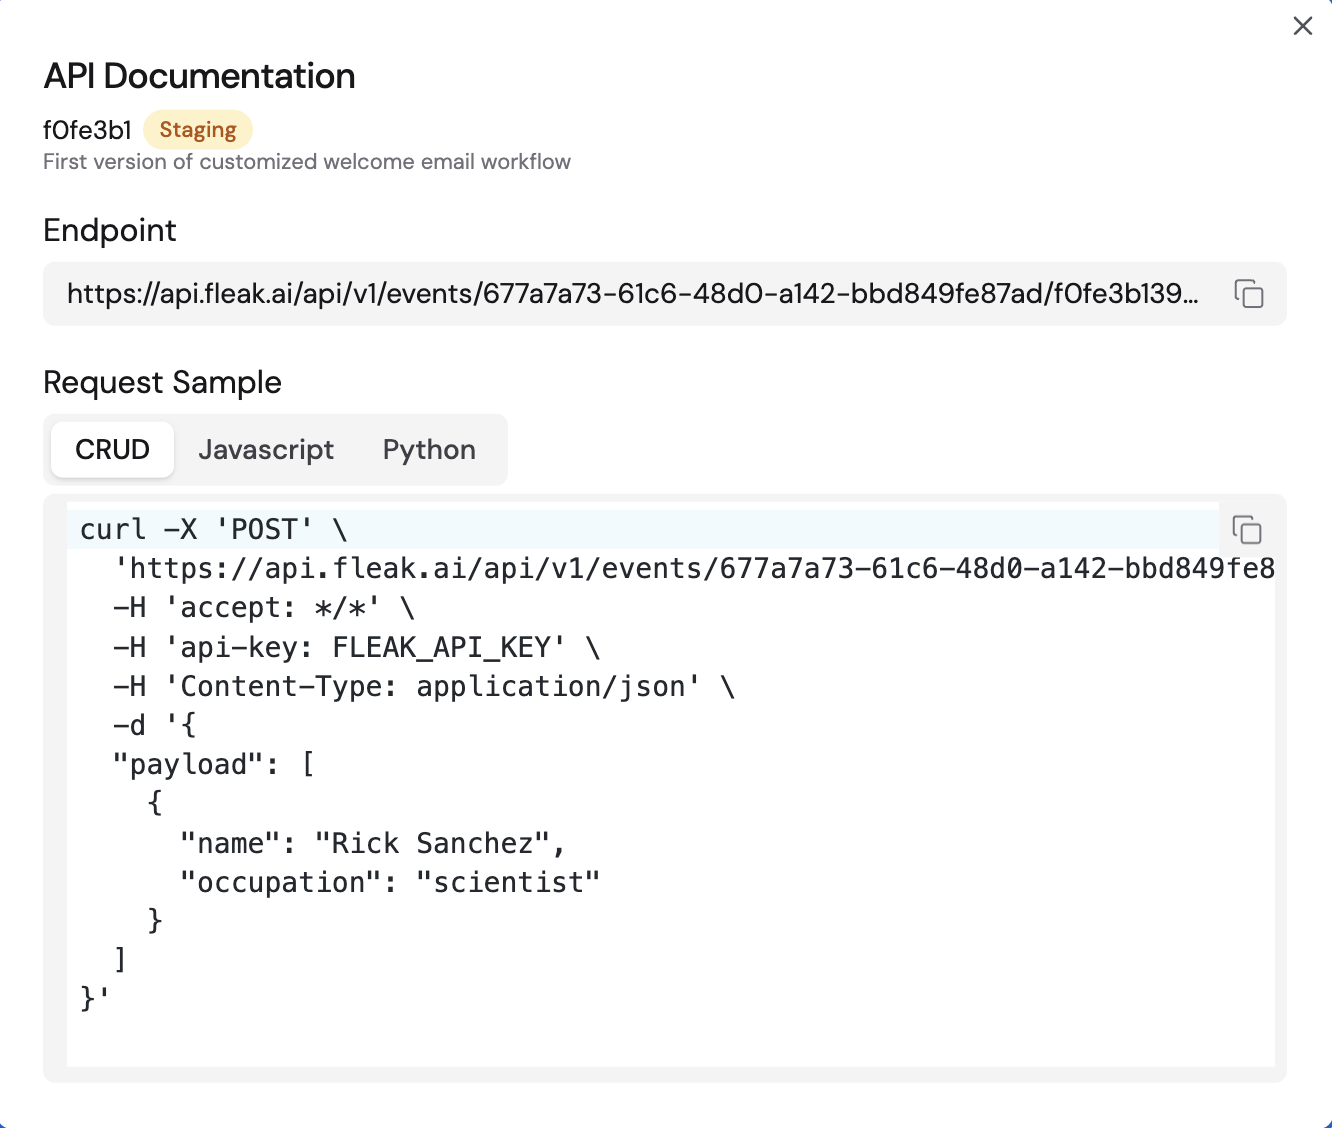
Congratulations! you have now created an API that generates personalized emails! Next you can refer to the Call a Published API documentation for how to integrate this API with your applications.